
提升Wi-Fi速度的方法包括升级路由器或调整设置,但若想进一步加速网站加载,启用DNS缓存是高效选择。DNS服务作为URL与IP地址之间的桥梁,每次访问网站时需解析请求。由于解析过程耗时,在本地网络缓存记录可显著缩短响应时间。最便捷的方式是利用闲置树莓派改造为低成本DNS缓存服务器。
准备工作:所需硬件与软件清单
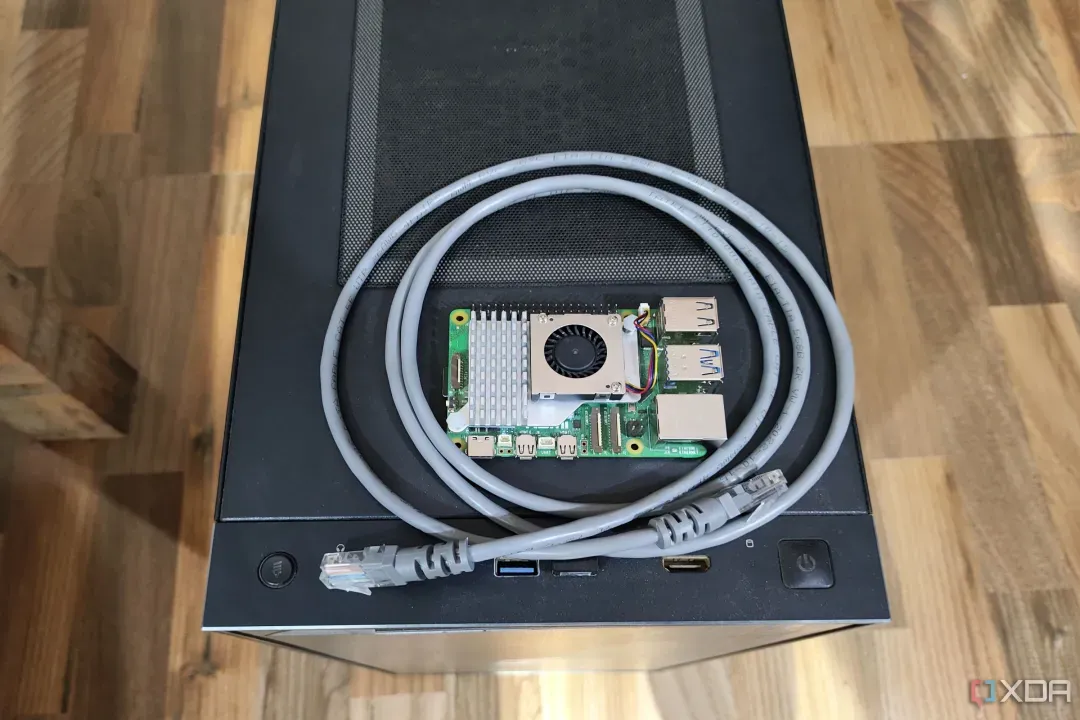
构建DNS服务器资源需求低,任何树莓派型号均可胜任,但建议选用配备LAN端口的型号以最小化延迟。本文基于树莓派操作系统图形界面版,方法同样适用于其他Linux发行版如树莓派精简版或DietPi。若操作系统安装遇阻,可参考基础设置指南。
树莓派5 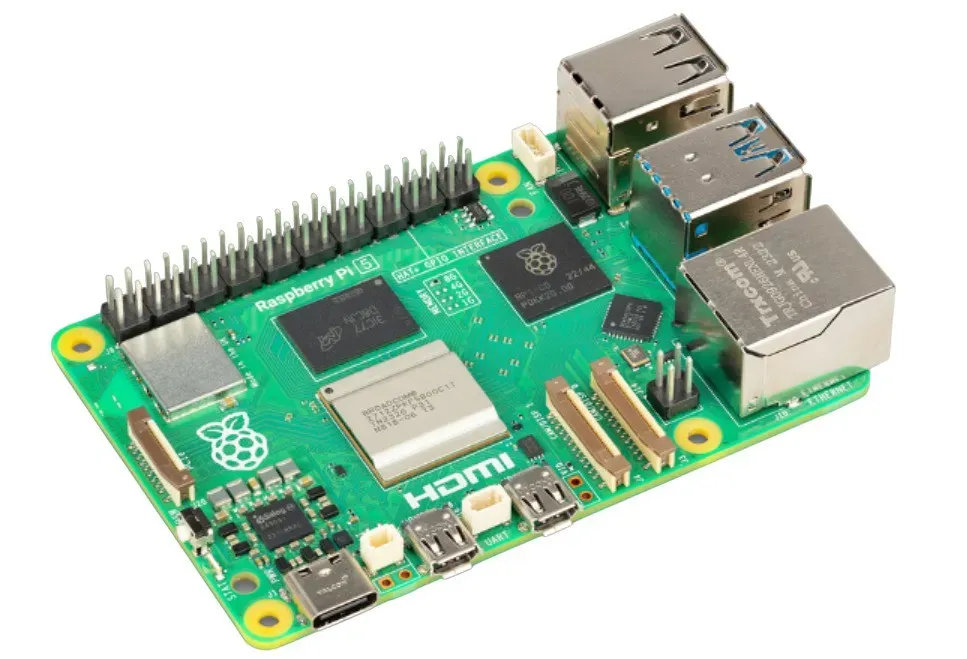
SanDisk 256GB Extreme microSDXC UHS-I存储卡 
步骤一:配置树莓派静态IP地址
操作系统安装完成后,需为单板计算机分配静态IP地址:
在图形界面发行版中启动终端应用。

执行命令获取路由器IP地址:
ip r | grep default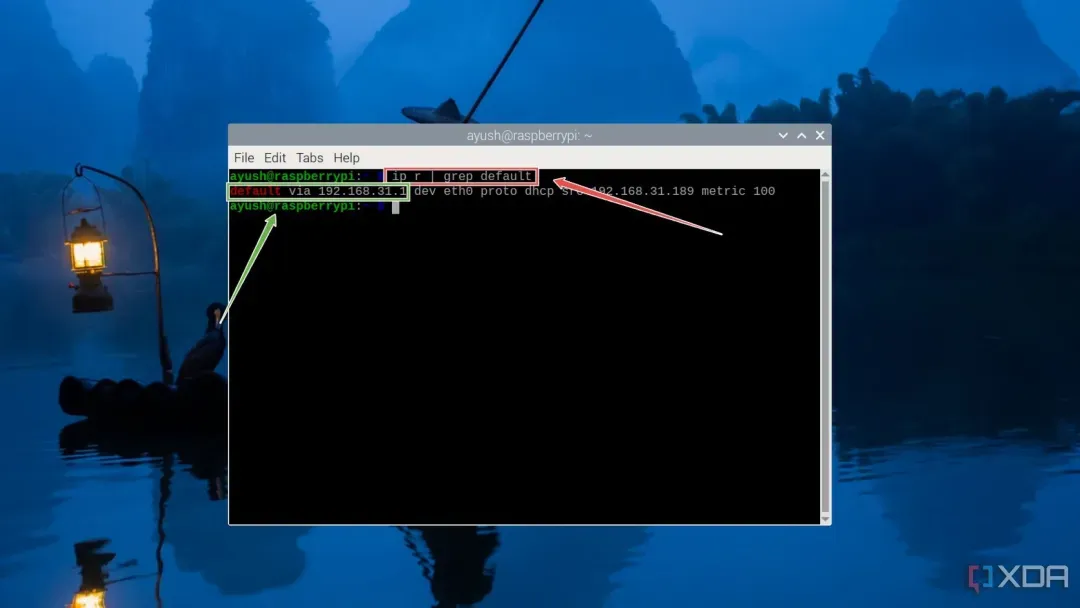 “default via”后显示的IPv4地址即为路由器地址。
通过nano编辑器修改dhclient.conf文件:
sudo nano /etc/dhcp/dhclient.conf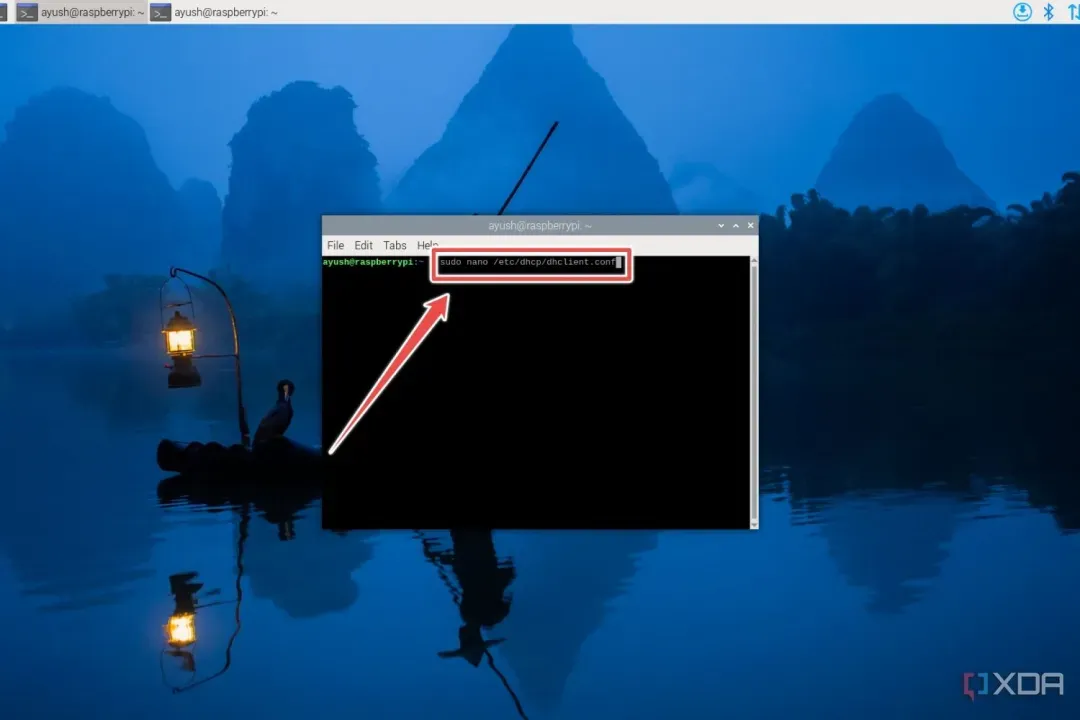
在文件末尾添加以下配置:
interface wlan0/eth0
static ip_address=IP_address/24
static routers=Router_address
static domain_name_servers=DNS_address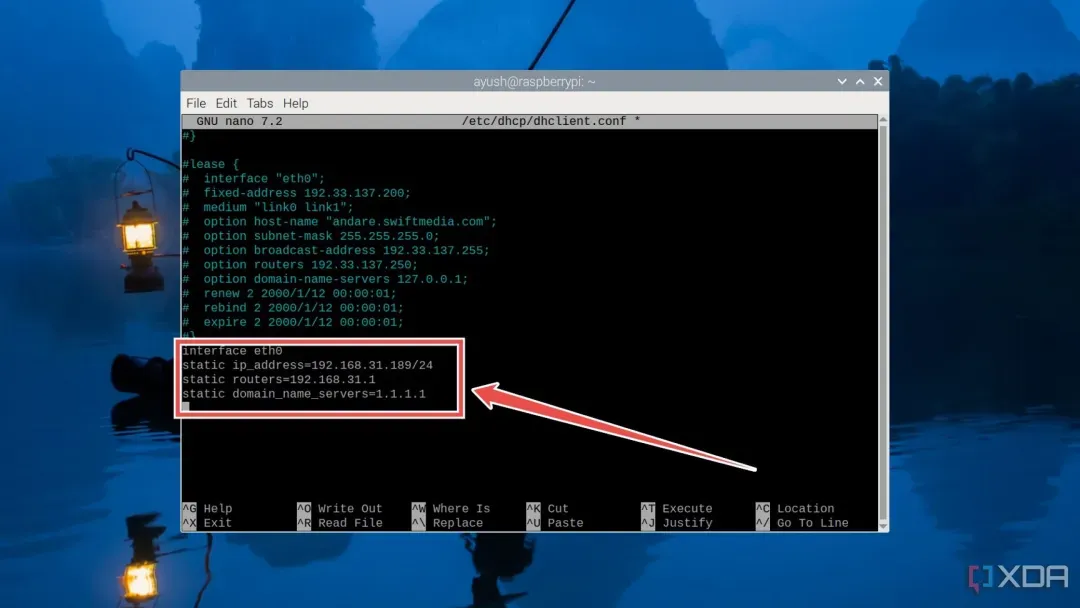 静态IP地址字段可填入路由器未分配的任何IPv4地址,static routers字段粘贴前述命令结果,static domain_name_servers字段选择如8.8.8.8或1.1.1.1等DNS服务器。
按Ctrl+X组合键,输入Y并按Enter保存退出。
步骤二:安装并配置Dnsmasq服务
静态IP分配后,初始化Dnsmasq服务器:
安装Dnsmasq软件包:
sudo apt install dnsmasq -y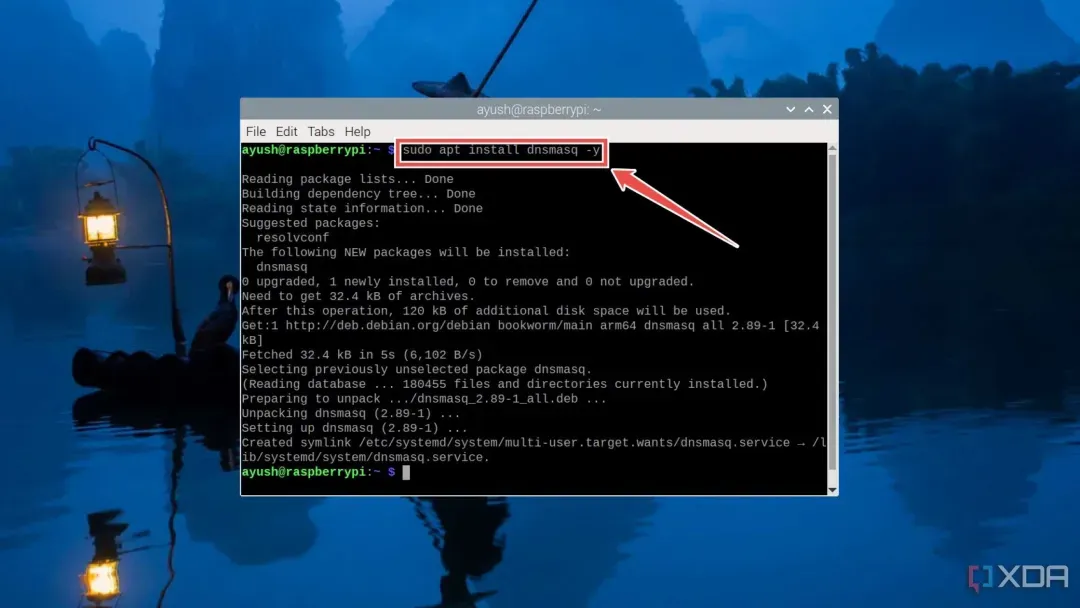
编辑dnsmasq.conf文件:
sudo nano /etc/dnsmasq.conf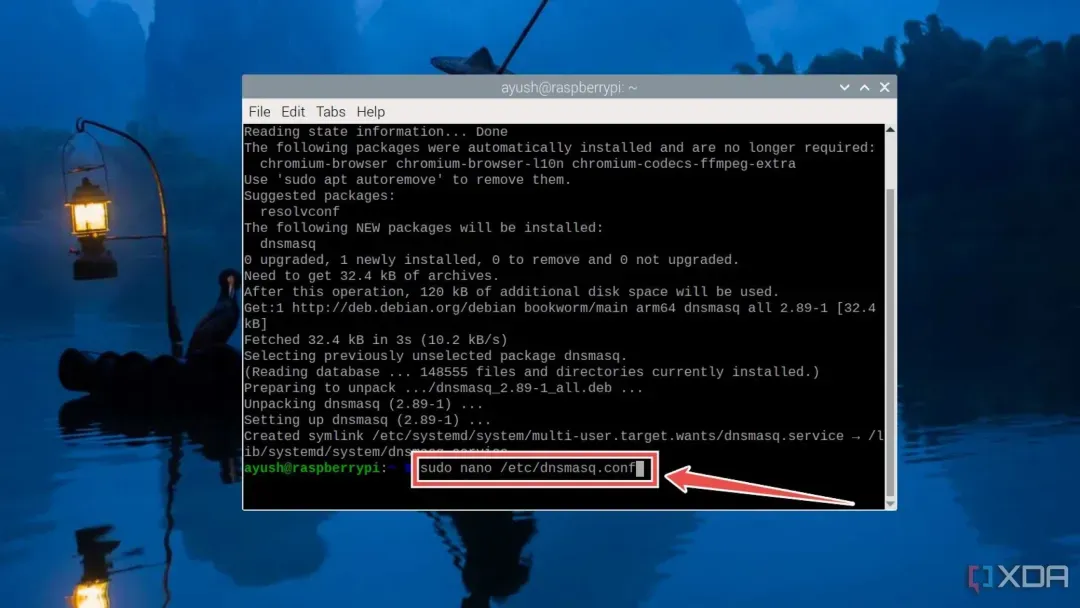
移除以下命令前的#号:
domain-needed
bogus-priv
dnssec
no-resolv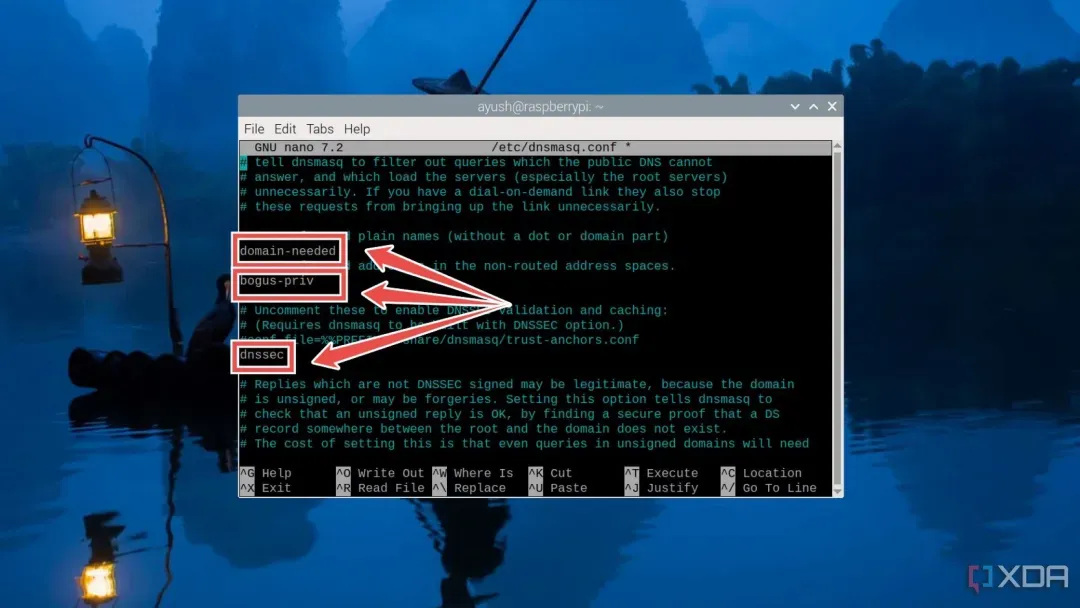
定位#server=/localnet/192.168.0.1行,替换为上游服务器:
server=1.1.1.1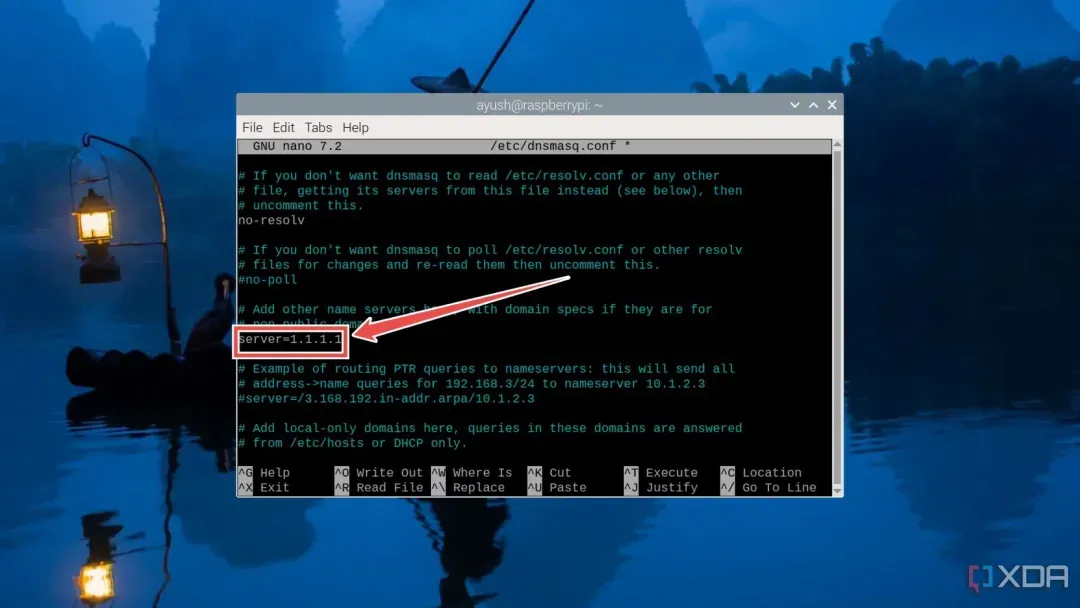
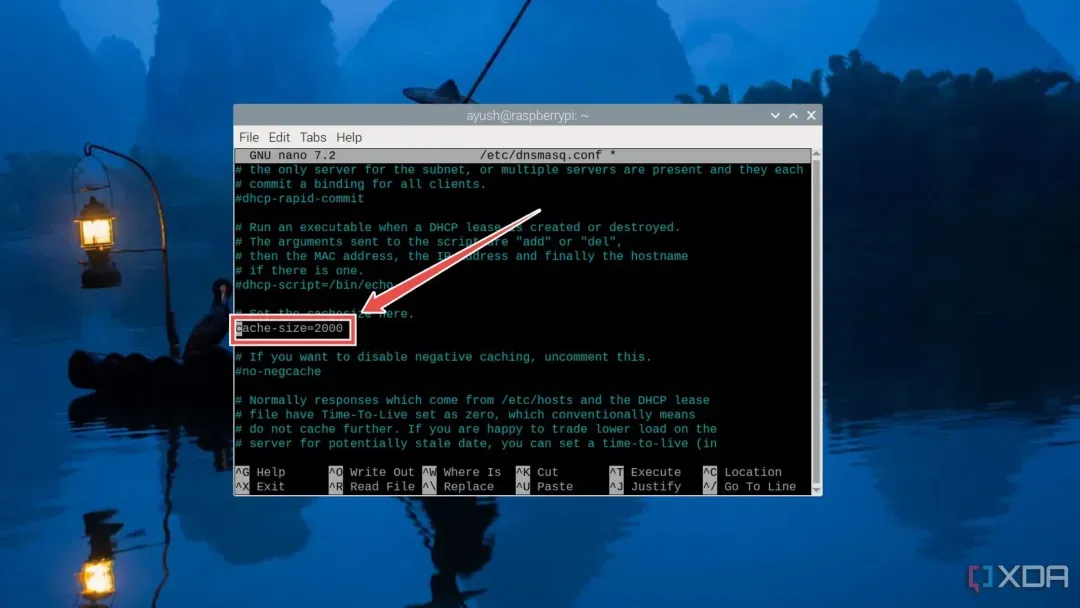
取消cache-size前的#号,值设为2000以扩大缓存:
按Ctrl+X,输入Y并按Enter保存退出。
重启服务并验证状态:
sudo systemctl restart dnsmasq
sudo systemctl status dnsmasq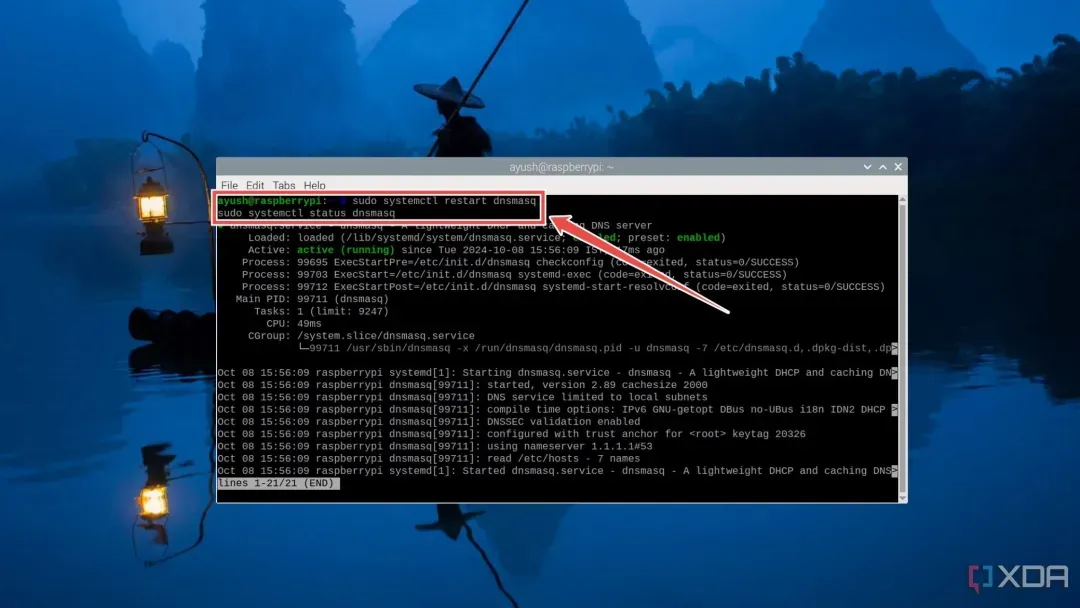
步骤三:连接设备到DNS缓存服务器
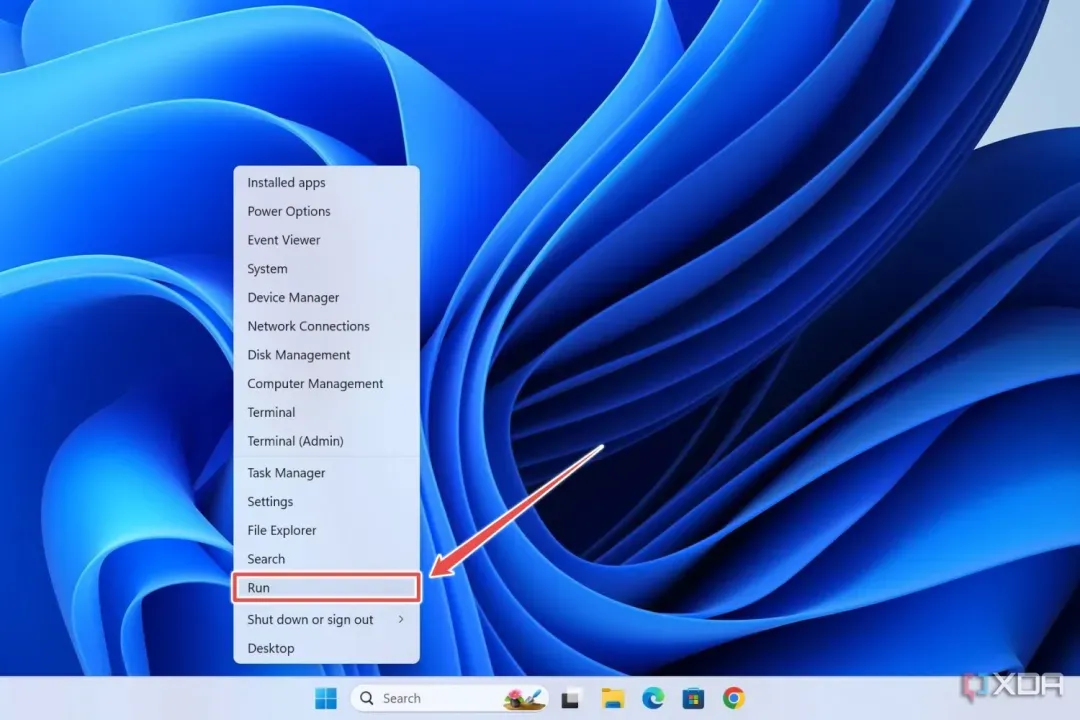
树莓派DNS服务器运行后,需将设备接入以启用缓存功能。以Windows 11为例:
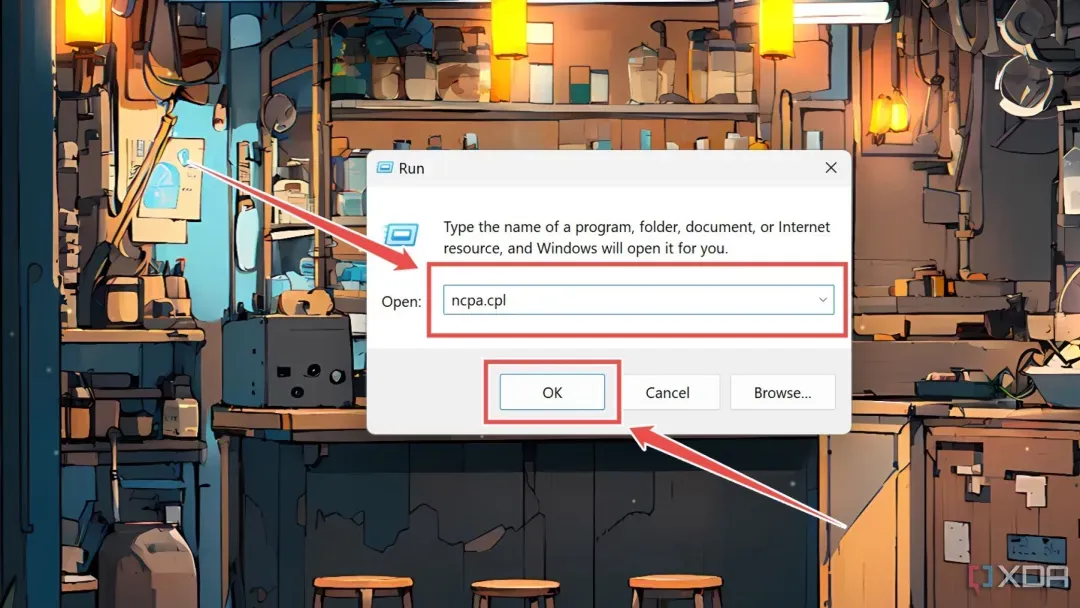
右键点击开始按钮,选择“运行”。
输入ncpa.cpl并点击“确定”。
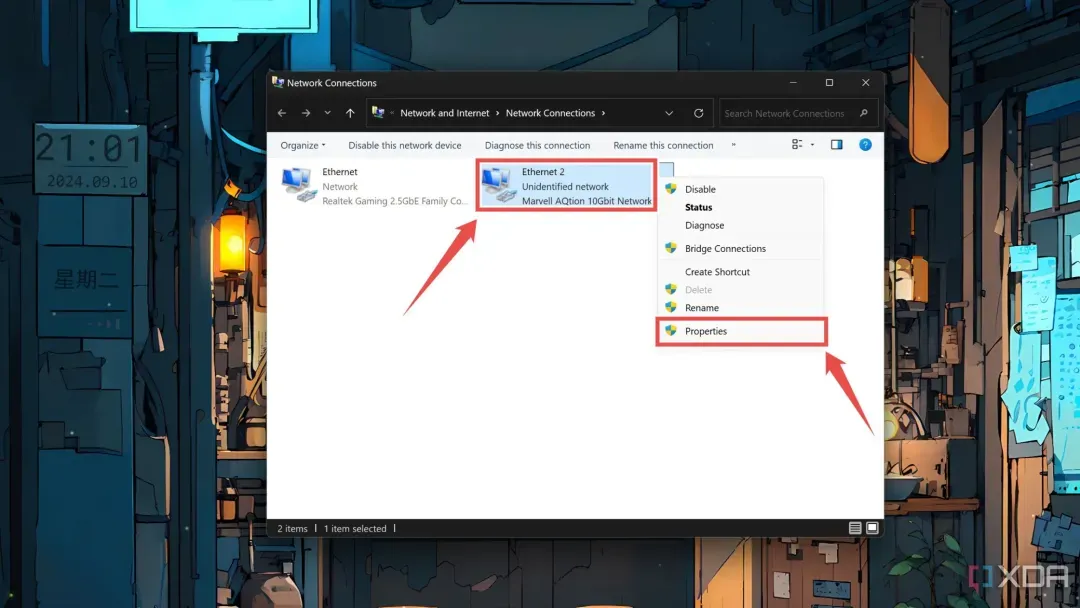
右键选择网络接口,点击“属性”。
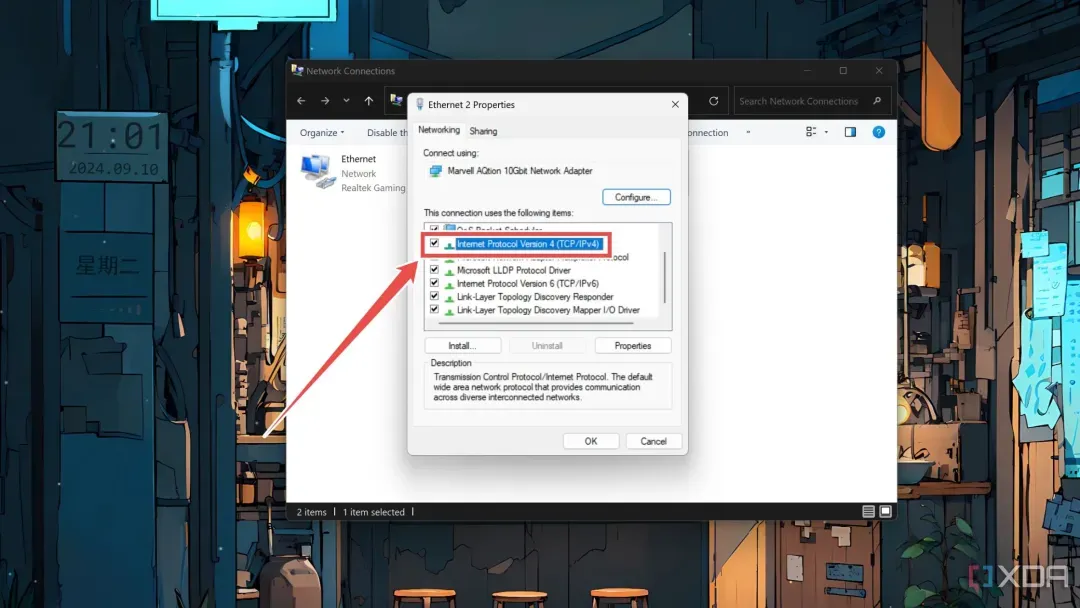
双击“Internet协议版本4(TCP/IPv4)”。
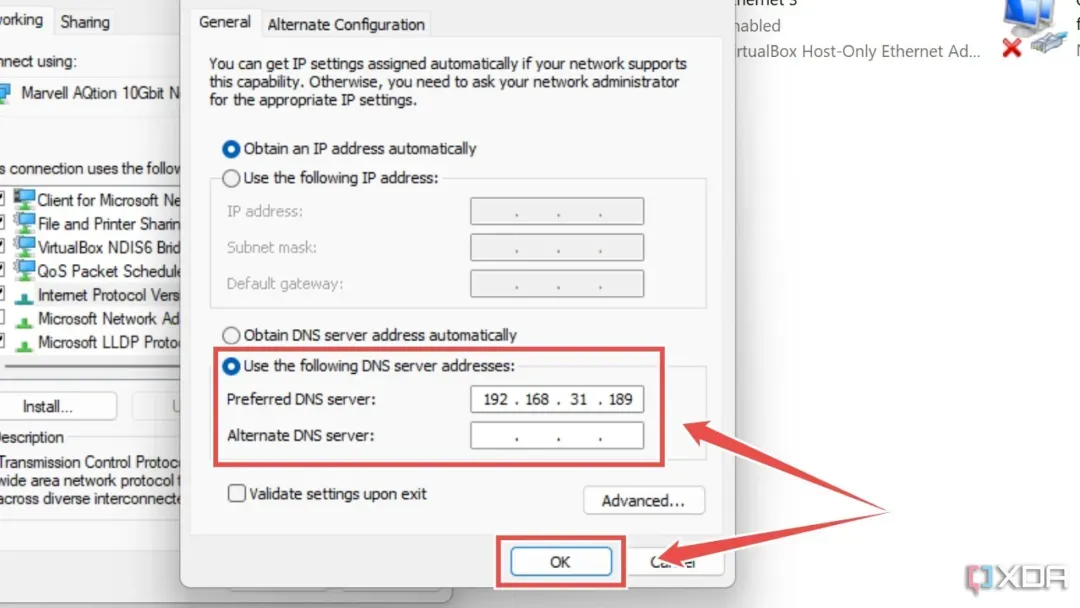
选择“使用以下DNS服务器地址”,输入树莓派静态IP,点击“确定”。
效果验证:提升网络DNS解析速度
 设备连接树莓派DNS服务器后,首次访问网站可能因缓存需1-2秒,但后续加载常用网页速度将明显提升。此方案有效利用闲置树莓派优化网络性能。